

In this video, Oceanbotics walk you through how to set up and deploy a professional-grade inspection ROV, start to finish. The entire process takes under 3 minutes.
How to set up and deploy an inspection ROV.
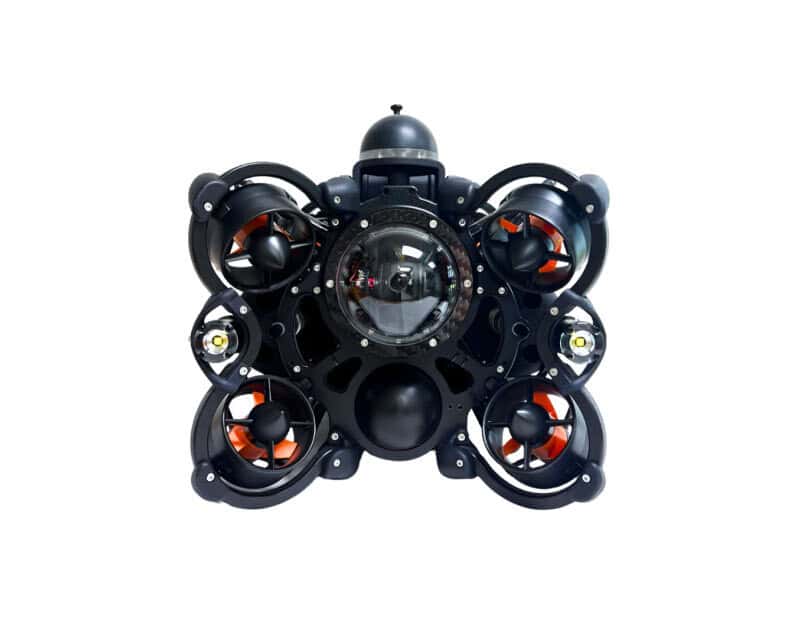
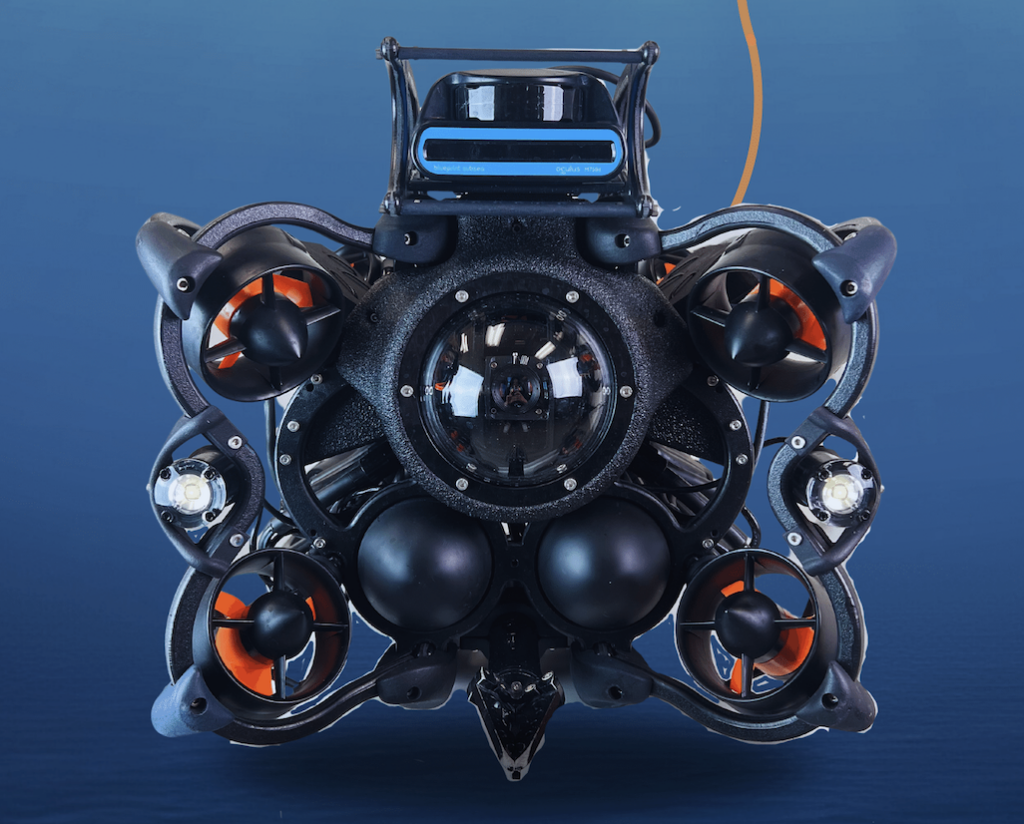
1. Insert Batteries into the SRV-8X ROV
Place both batteries into the vehicle and ensure they are locked securely in place. Connect each battery lead to the corresponding battery. Turn the On/Off switch to the on position.
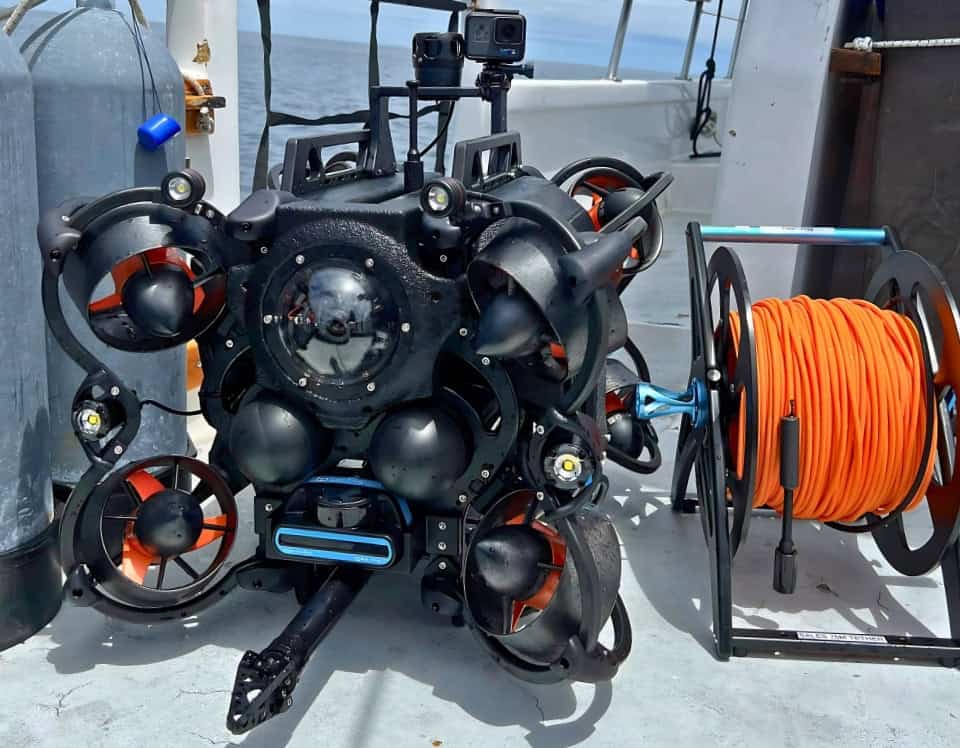
2. Connect the Tether and Strain Relief to the SRV-8X ROV
Plug the tether into the tether port of the SRV-8X. Insert the tether loop into the tether locking sleeve to secure the lifting point.
3. Connect the Patch Cable
Attach the patch cable to the tether reel and the DIM Box.
4. Connect the DIM Box to the Laptop
Plug the DIM Box into the ruggedized laptop via USB-C.
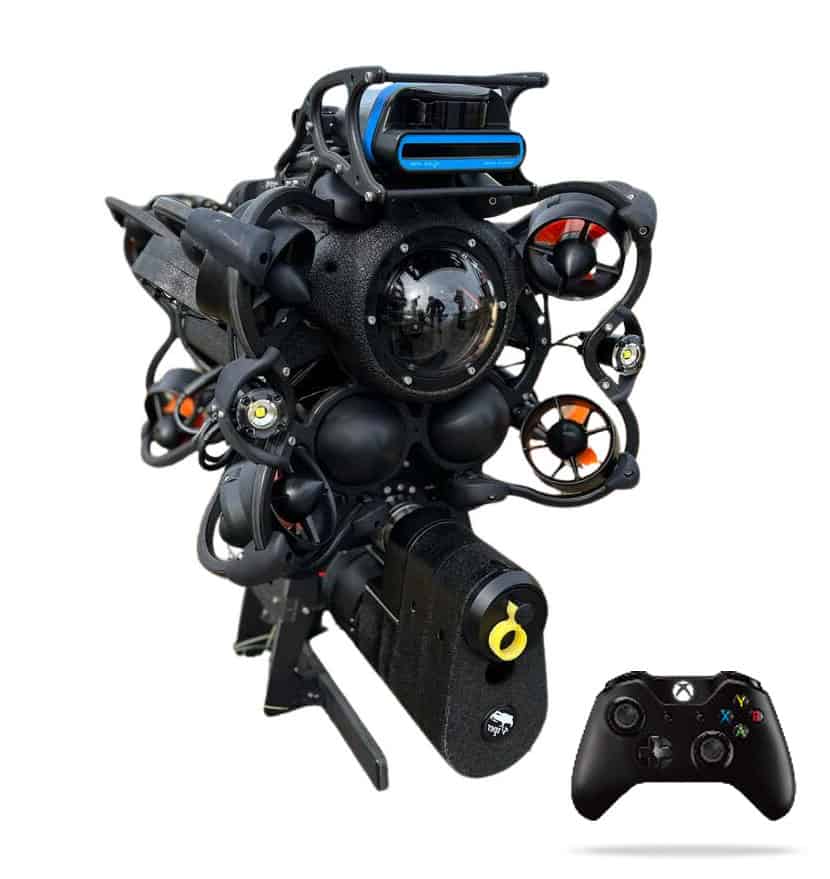
5. Connect the Controller
Plug the controller into the ruggedized laptop.
6. Launch SubNav
Open SubNav OS and establish a connection with the SRV-8X.
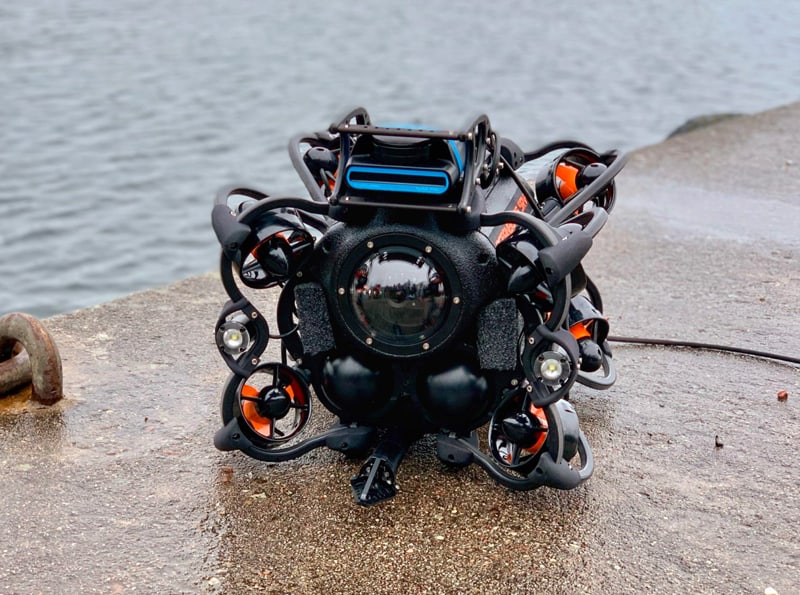
7. Splash the ROV
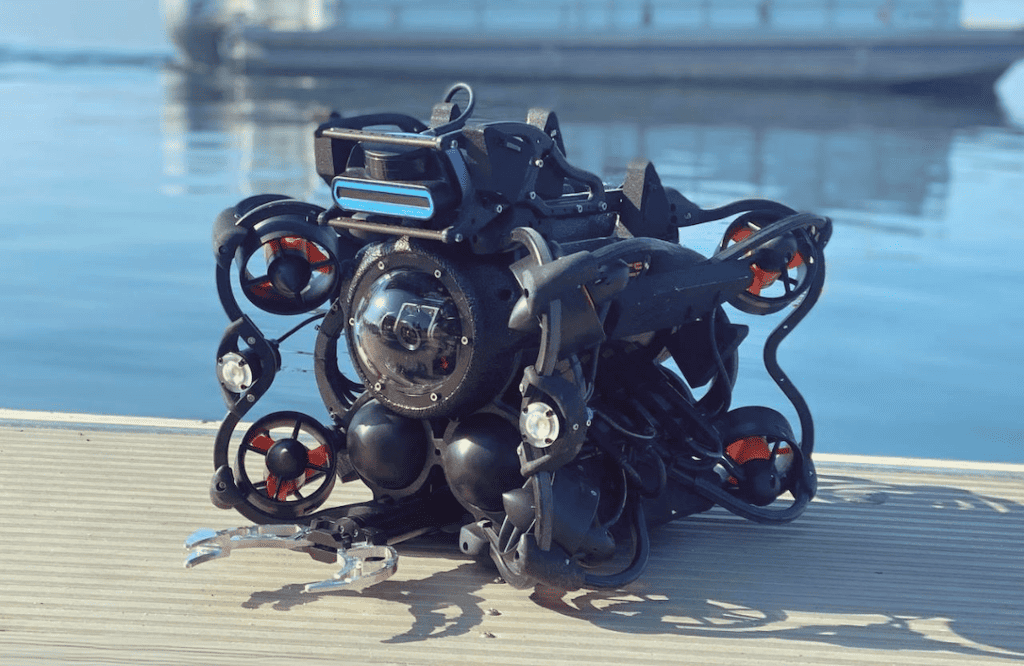
Lower the SRV-8X into the water and begin your mission.
If you’re looking for a robust inspection-class ROV capable of object retrieval, pipeline inspection, underwater surveillance, evidence recovery, or marine research, our team is ready to help you identify the right solution for your operational needs.