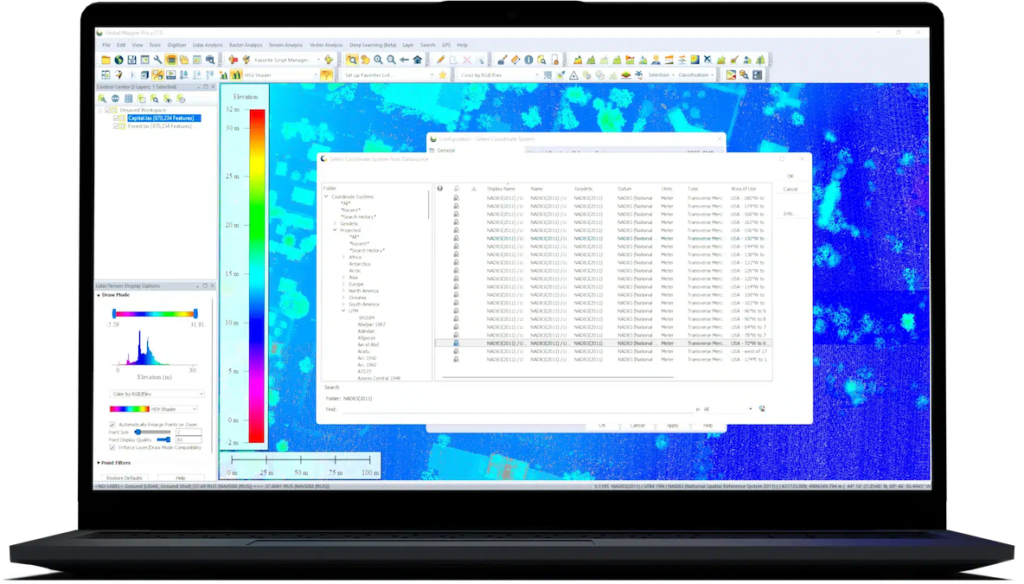


Outlined in the detailed article ‘How to 3D Print GIS Data From Global Mapper‘, Blue Marble Geographics explain how to communicate planned or existing terrain, by using 3D printing and geospatial technologies to curate 3D maps using its Global Mapper software.
Global Mapper Version 25.1 introduces a tailored STL exporter for generating slicer-ready data. This new feature takes advantage of Global Mapper’s extensive terrain handling tools to create STL files at the proper horizontal and vertical scale, with options for extruding a base and sidewalls.
The instructions listed below outline steps for acquiring 3D spatial data, options for processing it in Global Mapper, and exporting it as a file that’s digestible by a users’ slicer.

Step 1. Loading Data Into Global Mapper
If users already have data, it can be loaded directly into Global Mapper by dragging and dropping it into the workspace, or by going to File > Open.
Global Mapper can handle just about any spatial file type. The most common for 3D GIS data will be a GeoTIFF or .las/laz.
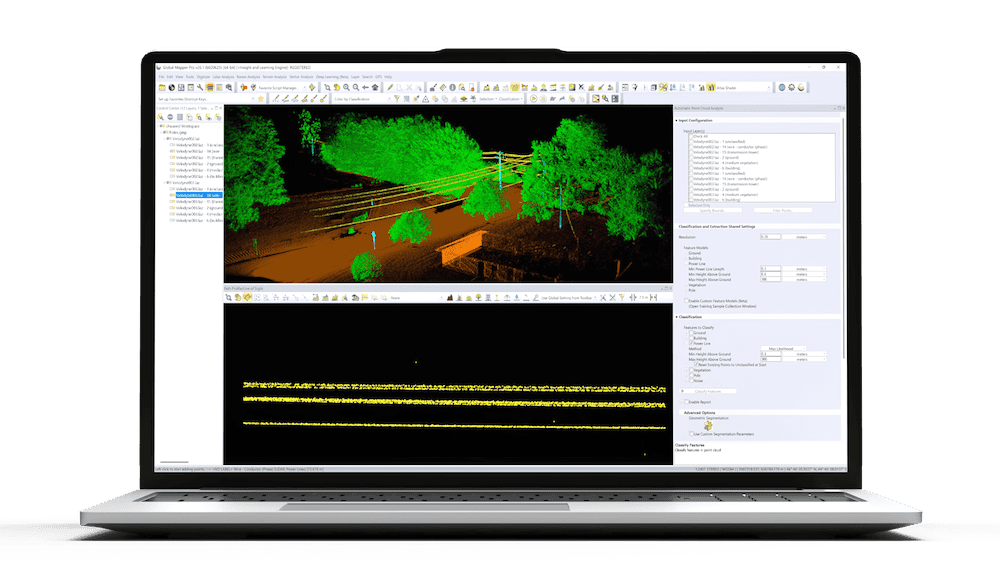
When working from vector data such as contour lines, lidar, or point cloud data, users will need to create a solid surface grid layer from that data before exporting.
Finding Data:
There are many Free Elevation Data Sources to Use in Global Mapper. The most user friendly option is the Online Data tool built into Global Mapper, which streams data directly into the software. Try NASA DEM Elevation Data, a global dataset found under Popular Sources.
(Optional) Editing Terrain Data:
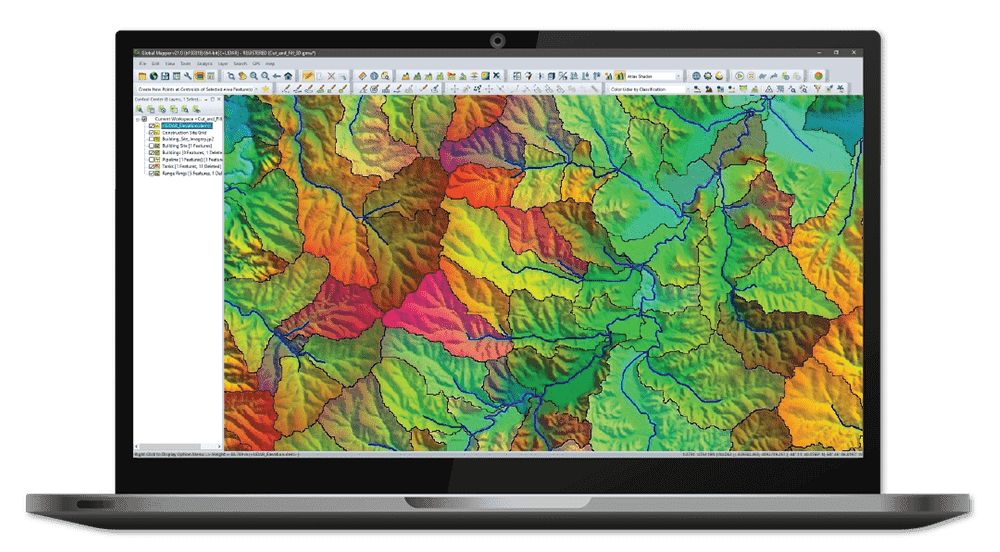
While the exported .stl file won’t include color attributes, in Global Mapper users can choose different visualization options to help during editing. The elevation shader is a dropdown menu in the Viewer toolbar that applies color to raster data based on elevation. To see the data as an all-white layer, mimicking a solid color filament print, choose the Daylight Shader.
Crop:
The raster data can be cropped to fit into a polygon/area feature. Users can draw an area feature using the digitizer tool. Cropped data isn’t deleted; it can be brought back by changing the settings, but cropped data isn’t included in the export.
Terrain Paint:
If there are areas of the terrain that users would like to change, they can use the Terrain Paint tool, which allows for the manual manipulation of terrain by using the cursor like a brush to paint and edit the elevation surface in various ways. Read more in this blog: How to use the new Terrain Painting tool in Global Mapper Pro.
Generating 3D Data from Drone-Collected Imagery:
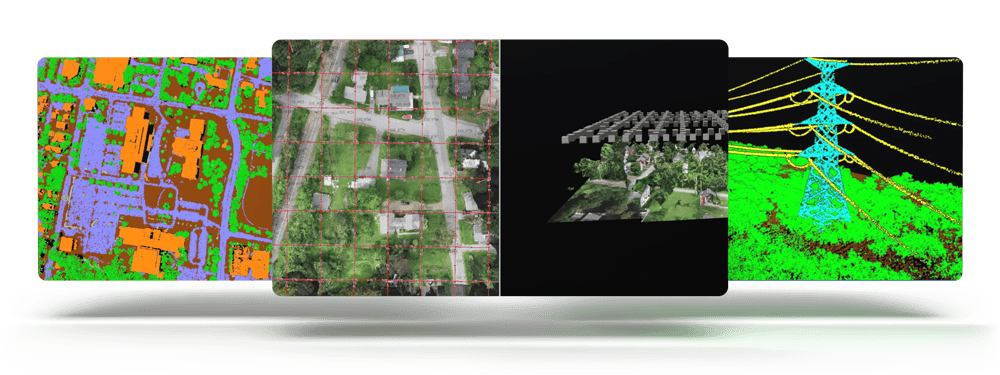
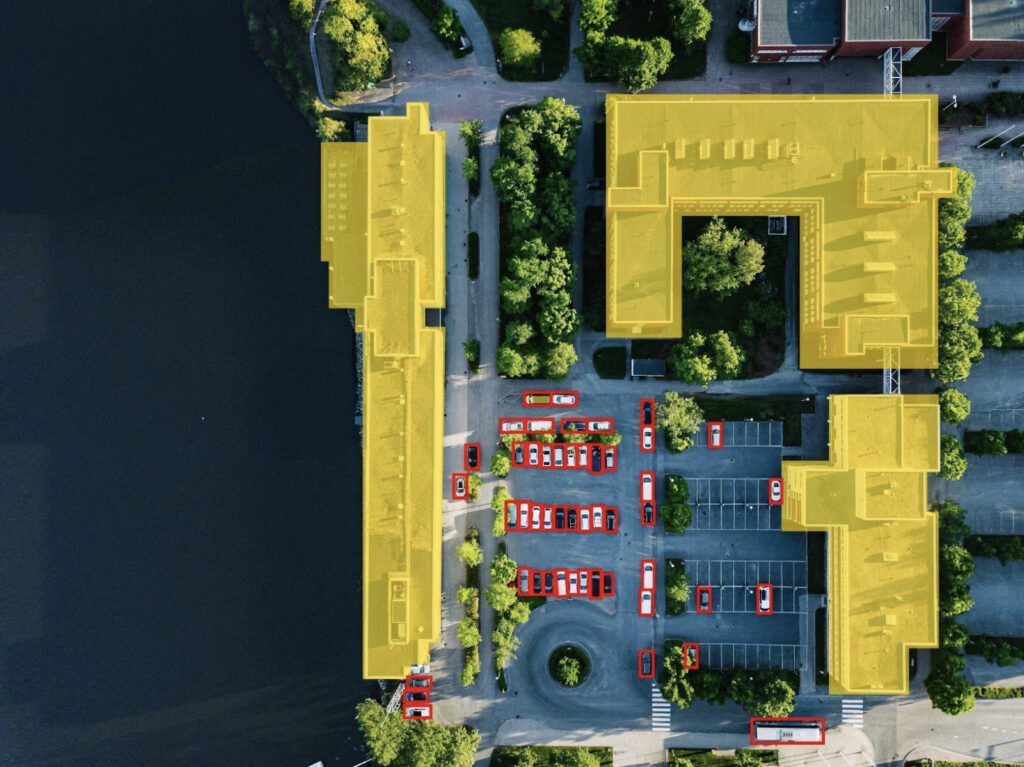
Pixels to Points is a photogrammetric tool that can create 3D mesh, point clouds, and orthoimages from overlapping aerial imagery.
Users can even use this to print a 3D model of their house. Read more about getting started with 3D drone mapping and using Global Mapper with UAVs.

Step 2: Exporting as an STL
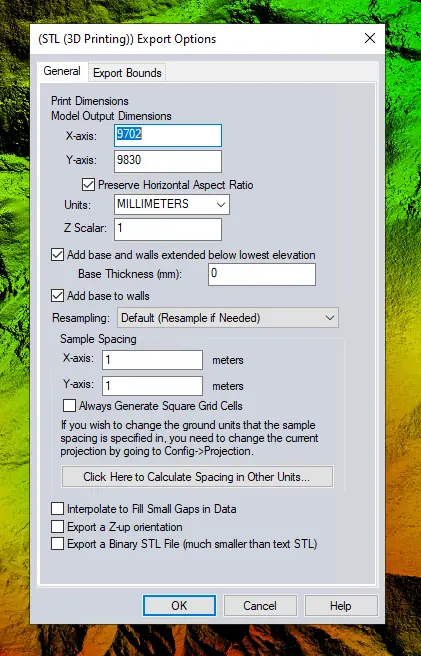
Print Dimensions:
The default value for this horizontal dimension is set to the data’s current real-world extent. Scale this down to fit within the 3D print bed. Leave the Preserve Horizontal Aspect Ratio option enabled to prevent warping.
Z Scalar (Exaggeration):
The Z Scalar setting facilitates the exaggeration of the height of the model. This can be especially useful with data in relatively flat areas. The Z Scalar variable is very similar to the Vertical Exaggeration setting in the 3D Viewer, a tool that’s great to use for visualizing the desired exaggeration. Change this value in the 3D viewer from the Configuration menu by clicking the Wrench icon > 3D View Properties > Environment > Vertical Exaggeration.
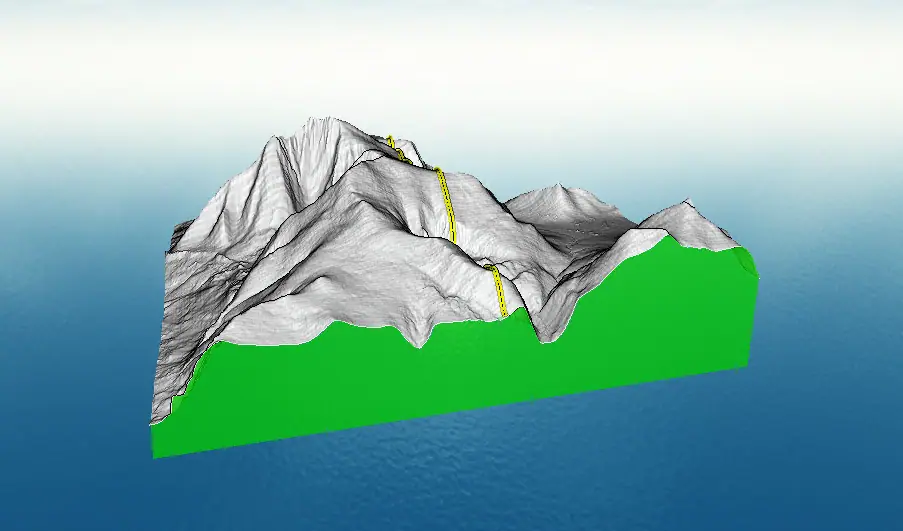
Create a Base:
A base is a flat surface extruded from the bottom of the model. Check the Add base and walls extended below the lowest elevation option to automatically create a base during export, along with sidewalls to connect the base to the print.
Blue Marble Geographics state that users will want the base to be lower than the lowest point in their print. The Base Thickness setting determines how far below the lowest point in the data the base will be extruded to. Setting this to 0 will create the base at the lowest point, which may create a hole or thin area in the 3D print depending on layer thickness, as shown in the image. We recommend at least 2mm for a strong base.

A familiar concept to those who work in GIS is that the sample spacing is the grid cell size of the data. Users can also think of it as the resolution. A higher resolution (a smaller number) will create a more detailed model at the cost of a larger file size. If a user is scaling a large area down to fit onto a print bed, then a larger number (lower resolution) would be more practical. For example, when creating a model of the Grand Canyon, a 1m resolution would likely create details that are too small to appear in the final print. Setting the resolution to 100m or larger would be more practical for such a large area.
Click ok to export the data. The solid model can be viewed in Windows through the native viewer to make sure the base thickness and z exaggeration are what is expected. The file is now ready to be sliced and printed.
Explore terrain editing and exporting in Global Mapper, download a 14-day free trial. If you have any questions, please contact Blue Marble Geographics.